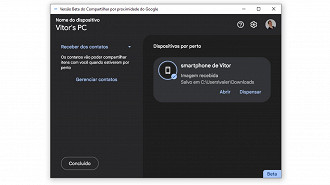
Earlier this month, Google announced a new app called “Nearby Share for Windows”. Originally, this feature was exclusive to Android smartphones and allowed the user to easily share files between phones. This same functionality can now be used between Android phones and Windows computers, here’s how to use it!
Tutorial: How to use nearby share Android + Windows
To start using the feature, see below the minimum requirements and how to download nearby share for Windows:
Minimum requirements to share files between Android and Windows PC
The user must have devices with the following configurations to meet the minimum requirements for using “Nearby Share for Windows”:
- PC running Windows 10 or Windows 11 64-bit (ARM64 is not supported)
- Android smartphone or tablet running Android 6 or higher
- Computer and mobile phone with Bluetooth and Wi-Fi
- There is a distance of 5 meters or less between phone and PC
How to download nearby share for Windows?
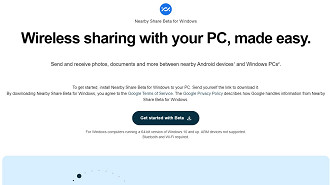
To download the nearby share for Windows application and install it, simply download the program to your Windows 10 or Windows 11 computer through this website. The app is in its beta version, but it works normally to perform the function for which it was made. When accessing the page, click on the “Get started with Beta” button to download it, as shown in the image below.
Warning ?
Before starting the tutorial, it is important that you know that both the notebook and the cell phone must have Bluetooth enabled and must be connected to a Wi-Fi network.
Necessary time: 3 minutes
-
In Windows 10/11, after installing the “nearby share for Windows” application on the computer, a window will appear asking you to login with a Google account. Click the blue “sign in” button.
-
Select the account you want to use.
-
Select the “Login” button.
-
On the cell phone, a notification will appear saying that there is a device nearby sharing. Select the notice to activate the sharing function. Then tap the blue “Enable” button.
-
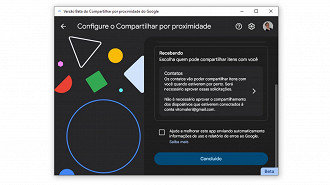
On the computer, a window will appear telling you to configure the proximity sharing feature. Scroll down and click the “done” button.
-
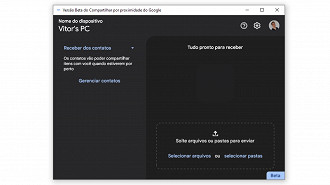
Drag a file you want to send to your phone and drop it on top of the application window.
-
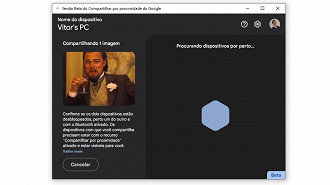
A screen will appear on the computer saying “searching for nearby devices”. Take your cell phone to proceed.
-
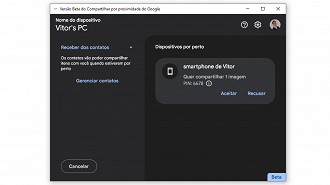
Select the “accept” button when identifying your computer on your mobile screen to receive the file.
-
A screen will appear on the cell phone saying that the file has been received. You will be able to select where you want to view the file.
Necessary time: 3 minutes
See also the tutorial “How to use nearby share for Windows to transfer files from PC to mobile”.
-
Select the desired file on your phone and tap share.
-
Scroll through the sharing options and select “Share via”.
-
Select your computer to share the selected file.
-
On the application screen on the notebook, locate the name of your cell phone and click accept.
-
Wait until the transfer completes. You’ll know when a green circle appears on your phone.
-
On the notebook, open the file by selecting “open”.
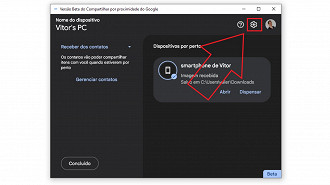
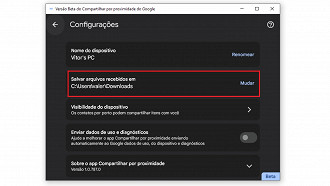
If you want to change where files are automatically saved on your computer. Just select the gear symbol at the top right corner to access the settings. That done, click on “change” where it says “save received files in”.
What did you think of this tutorial? Did you like it? Comment below about your experience transferring files between notebook and mobile!


